Boost the Health of Your Household with These Home Upgrades
Home improvement projects are often judged by how much they enhance the function and cosmetic appeal of a home. However, there are many improvements you can make to your home that can help promote the health of your household. Taking steps to keep out pests and reduce indoor pollution can significantly benefit your family’s physical and mental health. Don’t stop at the thought of beautifying your home; consider these upgrades for a healthier home!
Putting on a Fresh Coat
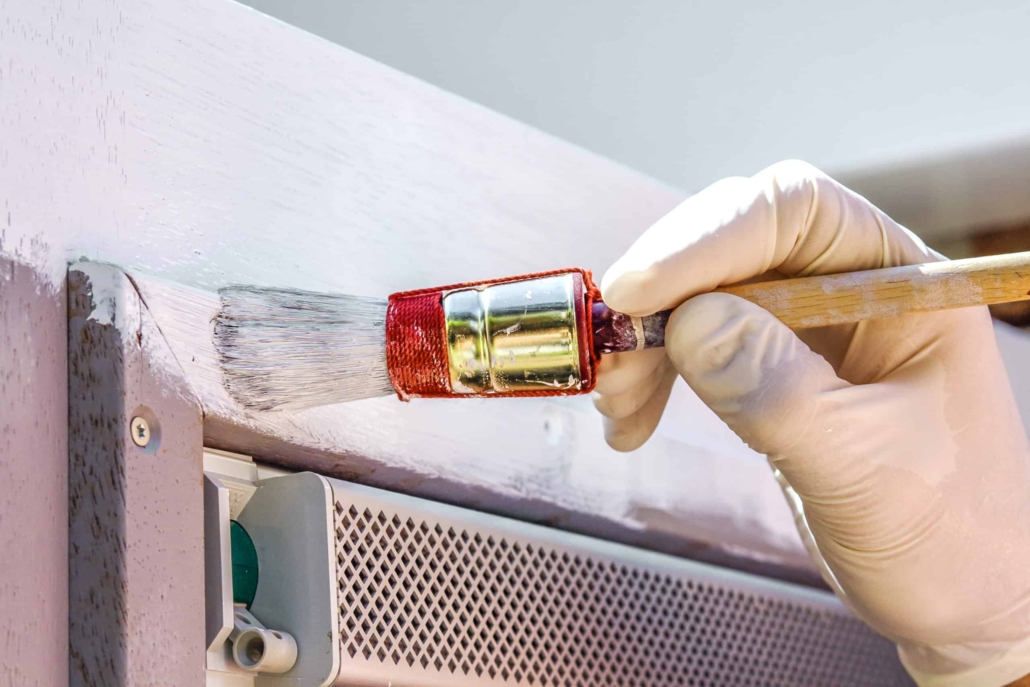
Painting your home can come with plenty of health benefits. The practice itself can be therapeutic. However, changing the colors of your walls, siding, and other aspects of your home can elicit feelings of calm, energy, and/or warmth, among other moods and emotions. Even applying a fresh coat of your current colors can improve the look and feel of your home.
Moreover, if you use non-toxic paint (one with no VOCs), you don’t have to worry about compromising the air quality in your home. Depending on the type of paint, materials, and labor involved, expect to pay anywhere from $2,500 to $19,000 to have your home painted professionally. If you don’t have the time to paint your home yourself, or you would rather it be done professionally, Patrick’s Painting can provide you with top-notch workmanship. We would love to help revive the interior and/or exterior of your home!
Caulking Holes and Gaps
Keeping pests out of your home is another important part of maintaining your household’s health and well-being. One of the most common ways for rodents and other pests to enter a home is through holes and gaps that can be fixed. Do a walkthrough of your home to see anywhere that needs holes and gaps filled. You will also want to look for areas inside the home that need caulking, such as the kitchen, pantry, and bathrooms.
Upgrading The Central A/C
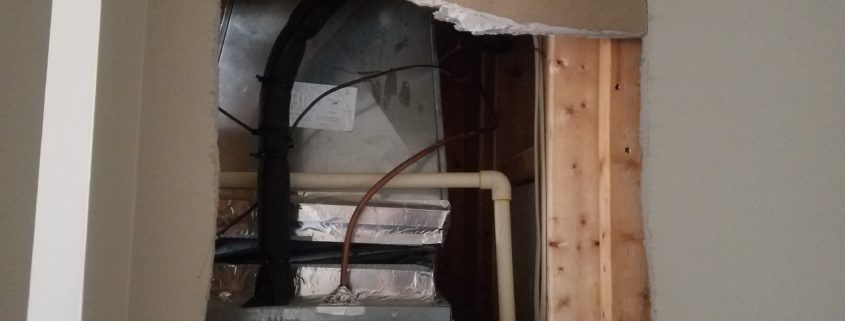
There are several health benefits to updating your central air conditioning. Not only are newer units better at keeping germs at bay, but fresher air can also help everyone in the home sleep better. And since a more efficient A/C is better at keeping humidity levels down, the possibility of mold is reduced. While a new unit can make for a healthier home, it can come at a steep price, which depends on factors like:
- The brand and size of the new unit you choose
- Labor costs for removing the old unit
- The work involved in the project
- Materials
Most homeowners spend $3,757 to $7,278. Once you have your new system installed, be sure to change out your filters regularly to optimize your home’s air quality.
Installing Whole-House Water Filtration
It’s not hard to see how having clean, high-quality water in your home can benefit the health of your household. Consider having a whole-house water filtration system installed, which typically can be done for $300 to $1,000. That way, you can rest assured knowing that anytime you turn on the faucet or shower, you’re getting the highest quality water.
Choosing a Good Contractor
For any project you undertake that requires the services of a professional, it’s important to pick the right contractor; otherwise, you run the risk of shoddy work and wasted money. Ask around for references and read through online reviews of contractors in your area. Once you find at least three candidates, interview and get estimates from each of them. This will help you determine which candidate is best for your project and budget.
Nothing is more important than taking steps to create a healthy home for you and your loved ones. Installing central air conditioning, painting and caulking your home, and putting in a whole-house water filtration system are all ways to do just that. And if you make sure that you hire a qualified professional, you’re well on your way to a healthier home!




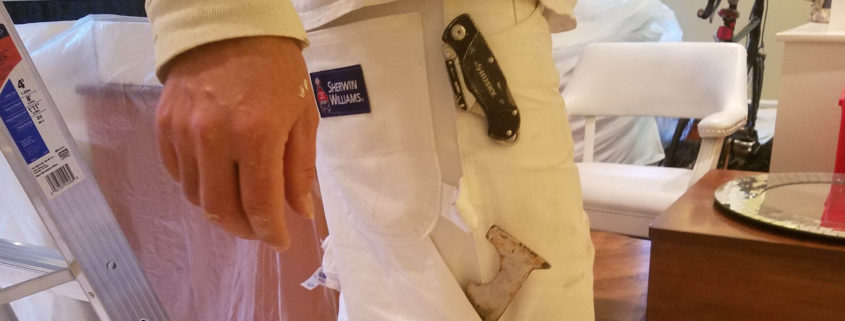
 A 5-1 is the ultimate painter’s tool, it’s like Mohammed Ali and his boxing gloves. You can scrape areas, open paint cans, hammer nail pops (nails coming through the wall) back in, pull out the paint left in your roller, and cut out old caulking with the sharp tip.
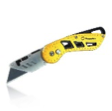 Your utility knife should always have a fresh blade and can help you with the removal of old caulking, being precise with cutting out damaged wall areas, and scraping old paint off windows (when you take the blade off the base of the knife).
 Your rag should be damp and used for drips or splatters. It doesn’t matter if you’re the Michael Jordan of painting you’re going to have a drip or splatter every once in a while.
 A duster is usually an old paint brush this will help you remove dust/debris from base trim, windows, drywall patches, etc. We like to cut our handle down so it doesn’t bulge out.
 Last but not least is the sandpaper. This allows you to sand smooth any rough areas that might have been missed or overlooked. My team and I always keep these items on ourselves. Why? If you have the proper tools on you when you run into a trouble area, you are more than likely to repair it right there instead of neglecting it.