Durable Renovation Projects to Reduce Maintenance
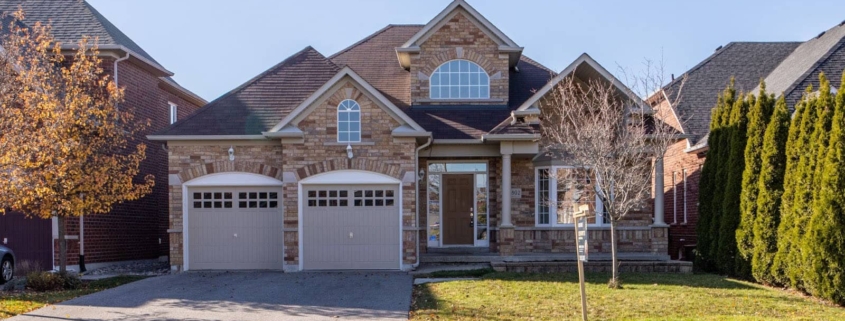
Taking care of your home is more than simply cleaning or repairing items that fail over time. There is regular maintenance on all types of aspects of your home to ensure its value stays as high as possible. That’s where low-maintenance renovation ideas can help. With these premier ideas to renovate the home while reducing the maintenance you have on your side, you can easily update your residence with confidence.
Maintenance doesn’t have to take hours or days out of your schedule. Check out these ideas below and see how you can update the look of the home while keeping maintenance at a minimum.
Refinish Concrete Floors

One way you can update the home you have while reducing your maintenance is by considering epoxy-painted concrete floors. These floors are a durable way to update your garage area or any concrete flooring you have. They look nice and reduce the amount of maintenance and repairs that are due over time. The application is simple and easy to do whenever you have a clean concrete surface to start with.
This type of floor is capable of standing up against chemicals, gasoline, and other liquids you might be dealing with in your garage. You’ll love that your floor looks great no matter what, with little upkeep from you.
Consider Stone Panels
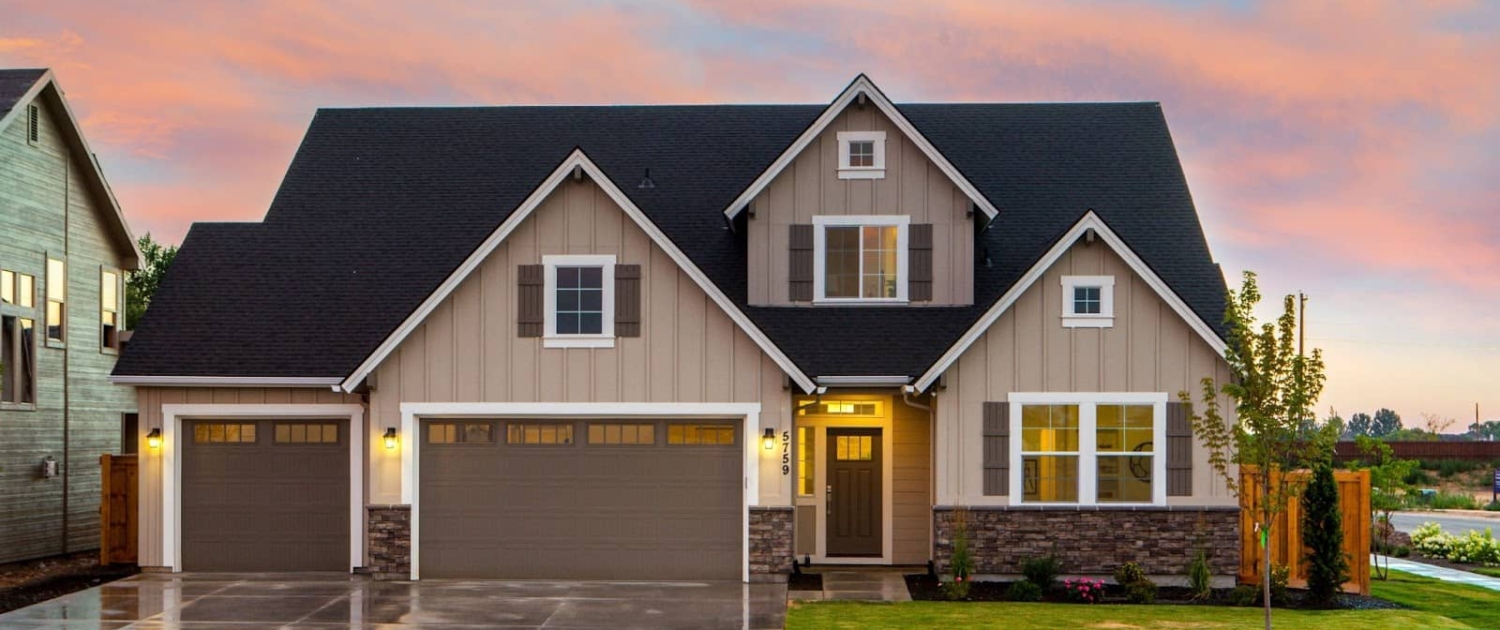
A way to update the outside of your home without having to keep up with paint is to consider installing manufactured stone panels. These panels are a great way to keep your home looking great without having to maintain them too much. They offer a variety of styles, colors, and pattern options to help you create the look and feel you want. These durable panels look like rock has been painstakingly installed while it is a simple panel that fixes to the home. These are very low-maintenance and provide a beautiful upgrade rather than simple paint changes or siding.
New Mailbox
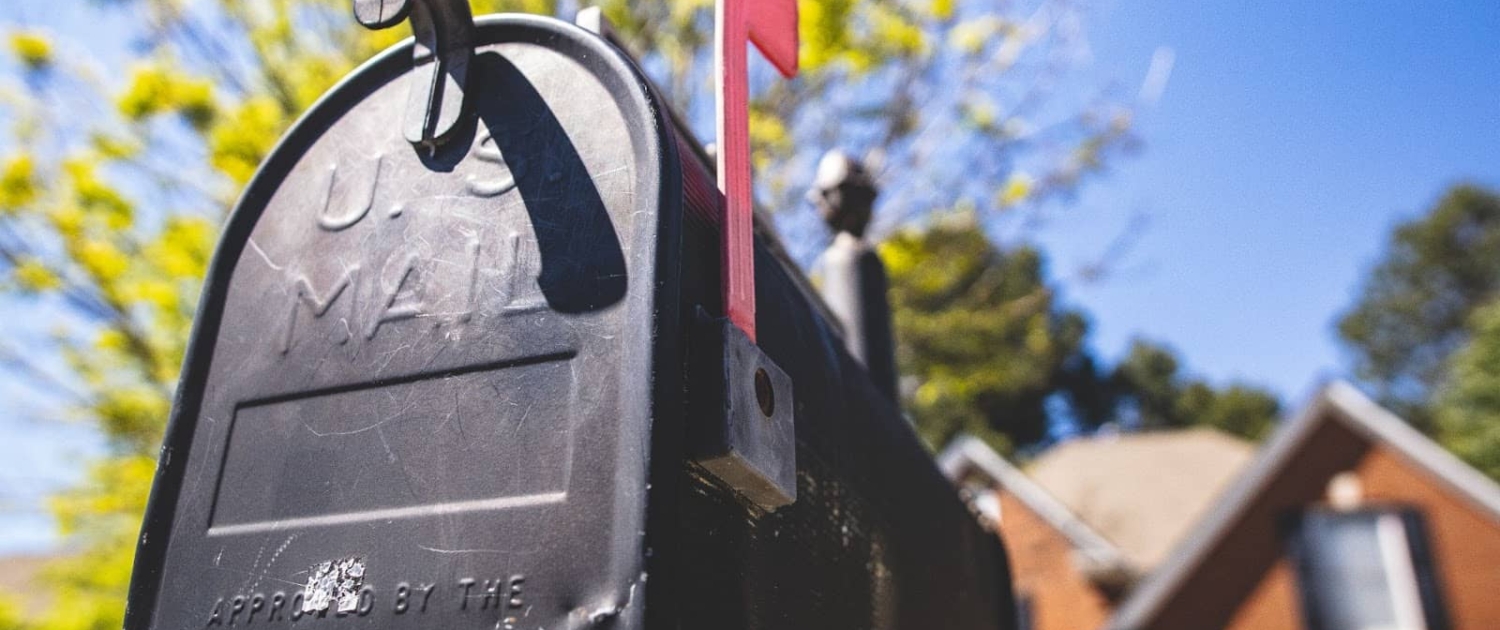
Your mailbox is a part of your home. You may not even realize that it needs maintenance until it does. That can be frustrating as mail will not be delivered if there is an issue with the box. Safeguard your items by considering the installation of a new construction mailbox to help you reduce how much maintenance is required. You can choose from a variety of designs that are durable enough to withstand any type of climate issues thrown their way. A new construction mailbox can be for a variety of homes, all in one safe, convenient location. Whether it’s for a new community or simply wanting to update the mailing options for your community, these are a great way to go.
Painting
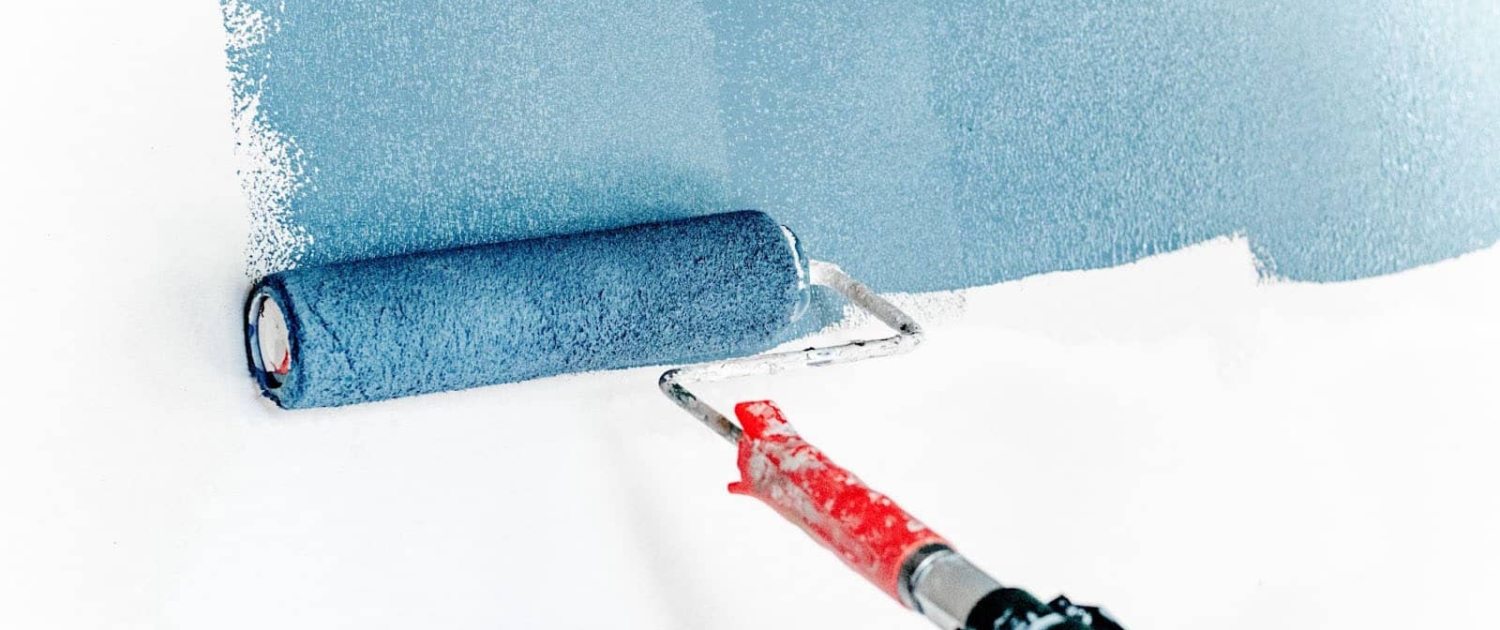
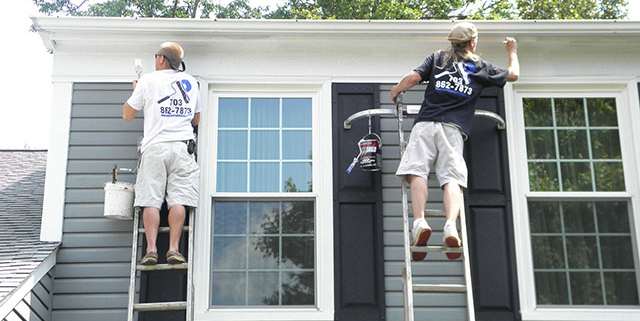
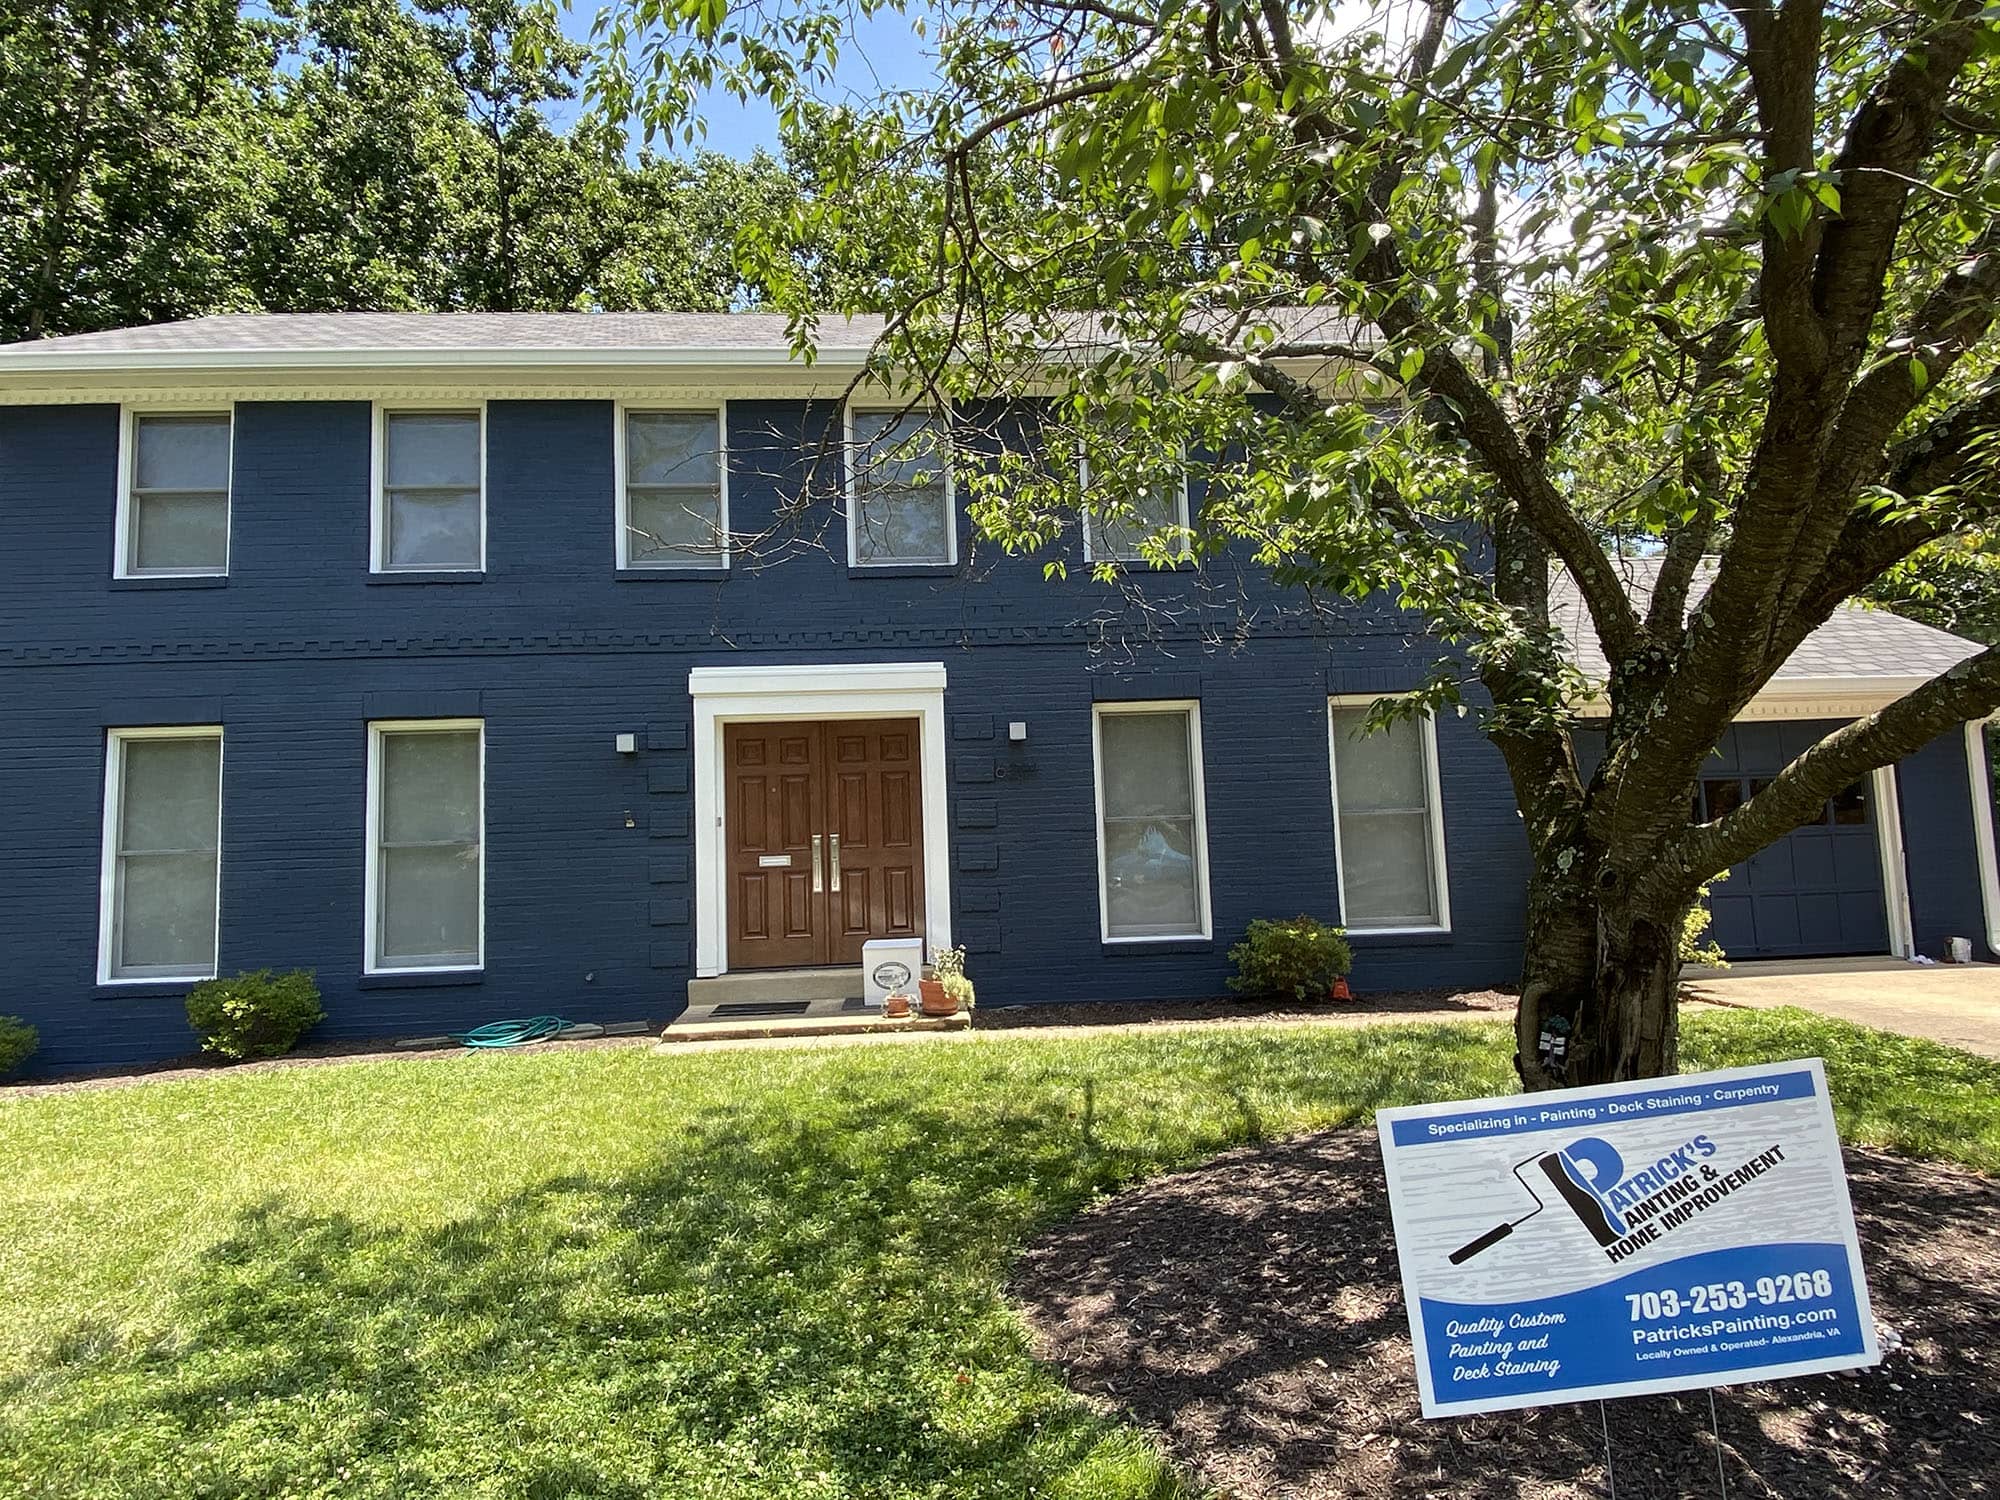
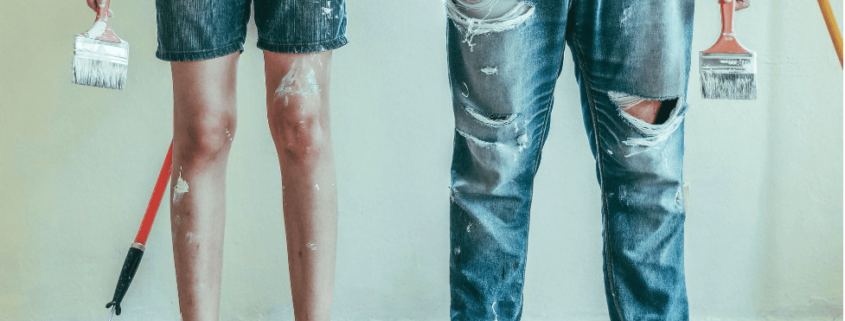
Another great renovation product that can help with the maintenance of the home is to consider a new paint job. Working with painters can help you to get a new, fresh paint job in no time. This renovation product can help with maintaining your lumber down the road. With a new paint job, the old is scraped away, cracks are filled, and then it is primed and painted. By taking time to work with professional painters sooner than later, you can help reduce carpentry maintenance down the road.
Upgrade The Siding
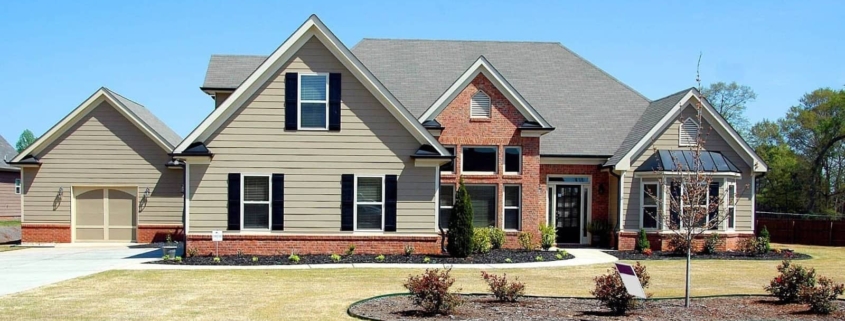
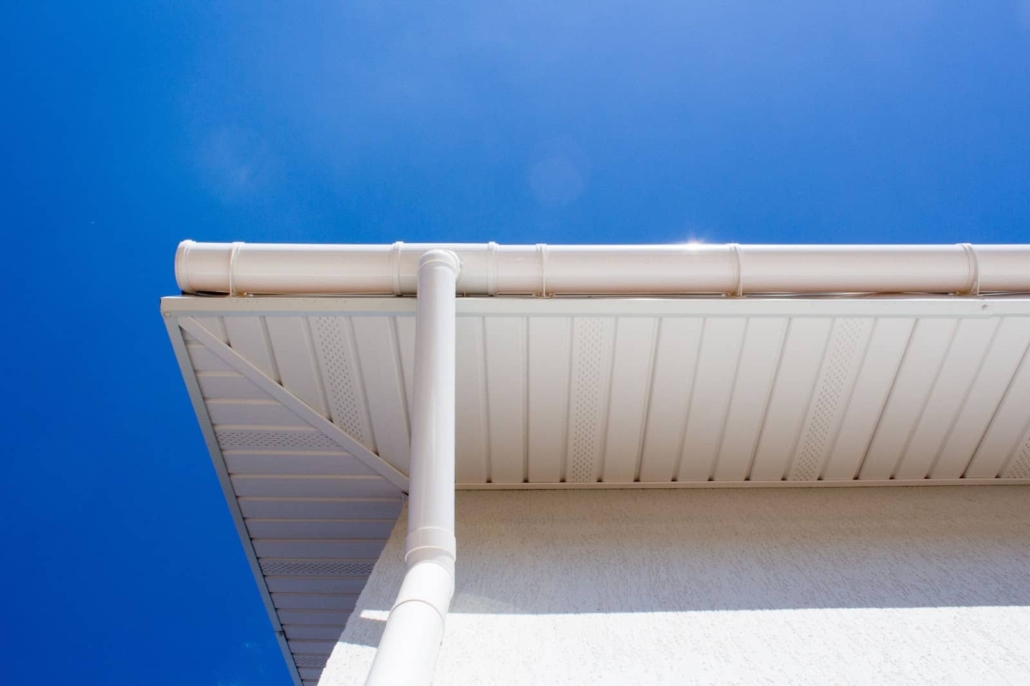
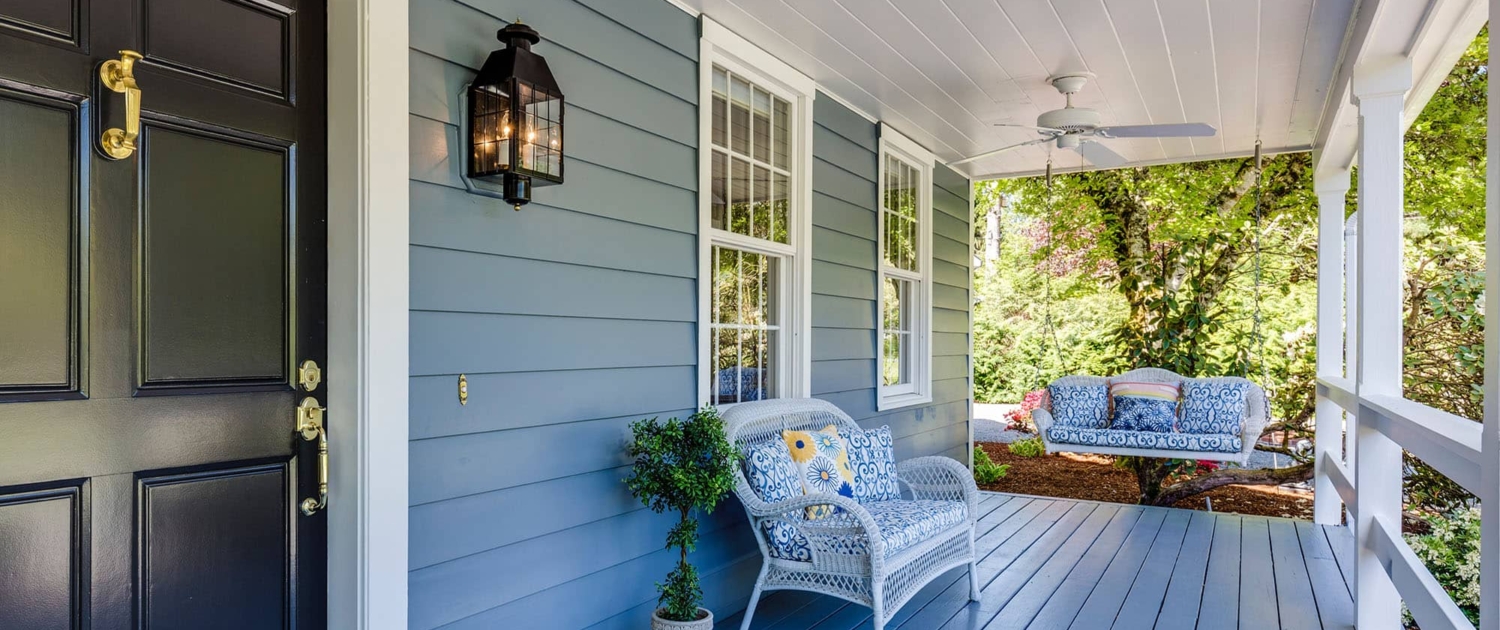
The outside of your home is one part that can look worn down over time if not properly maintained. Dealing with paint chips or fading can be frustrating. Consider updating your home with steel board and batten siding. This type of siding is highly durable, low-maintenance, and a beautiful update to any home. It has a high impact rating to help reduce damage during storms. It also has a high fire rating to help reduce damage with possible fires as well. The siding also comes in a variety of styles, designs, and color choices to fit any décor you may want.
These simple items cost a little upfront to provide massive returns down the road. With these low-maintenance updates, you can enjoy your home without having to always do some type of repair or upkeep. That leaves time to do all the other projects you have on your to-do list. Consider these options the next time you want to upgrade your home.
Andrew Wesley
Andrew Wesley is a freelance writer that loves sharing his knowledge and expertise on painting projects and materials. He lives in Atlanta, Georgia where he enjoys spending time with his wife and working on projects in his spare time. Andrew’s work as a freelance writer can be found on Building Product Advisors, a new construction industry resource launching in Fall 2022.

 https://www.pexels.com/photo/house-renovation-3990359/
 outsite-co-R-LK3sqLiBw-unsplash
 https://unsplash.com/photos/GDWmu0bFfS4
 https://pixabay.com/photos/architecture-render-external-design-1477099/